If you’ve ever stumbled across an excellent hat in a thrift store, you know how trendy a gently-used piece can be when it comes to updating your wardrobe. That being said, there are some times that the hat you find while thrifting doesn’t quite fit right—and, let’s be honest, you may want to avoid secondhand headwear if you’re worried about lice.
Want to break in your fedora or another hat, even if you’ve just purchased it? Follow these tips to give your hat that already-worn charm.

Use a toothbrush
A gentle tool to lightly distress various hat materials is a toothbrush. You can pick a cheap toothbrush up at your local drugstore and put it to work to distress fabrics in specific areas. Around the crown is one place to pay particular interest to as you give your hat a more worn look. A toothbrush is also a helpful item for gently applying fabric dyes to hats to lighten or darken them as you see fit.
Do the twist
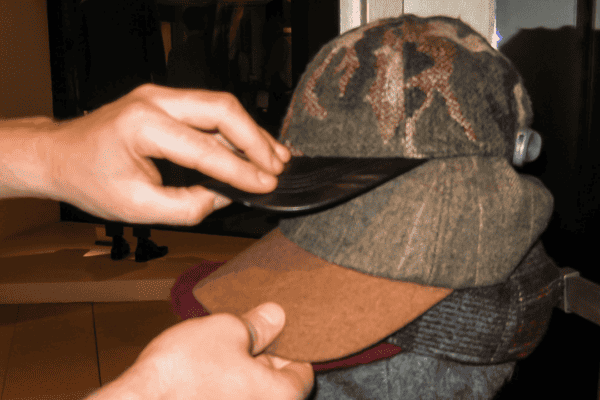
Baseball caps with hard bills are one of the simplest types of hats to distress and break in. Start by twisting the ballcap between your hands, then use rubber bands or Bungie cords to keep the cap in its twisted state. Leave your baseball cap overnight and it will be much less stiff. You can even twist it in the opposite direction and leave it for another day to really break it in.
Experiment with sandpaper
If you need to take your DIY hat distressing further than what a toothbrush can do, sandpaper is a very handy item to use. Sandpaper comes in different grits and strengths, meaning that you can take a more gradual approach to distressing your hat or jump in with a heavier-duty piece. It’s not a bad idea to experiment with different textures ahead of time before you actually start distressing your hat. Best of all, sandpaper is cheap and will last you a while, so even a sheet or two can be enough to distress multiple hats in your wardrobe.
Flatten it
If your hat has a firm brim that can take some abuse, setting something heavy on your hat can be a great way to break in your hat and give it a more lived-in look. You can experiment with different amounts of time and weight to get the exact feel you’re looking for. Consider placing a heavy book or two on your hat overnight, and seeing what kinds of results that gets you before you add more books.
As you can see, distressing a hat to make it look worn is a relatively straightforward process. All it takes is a bit of time and some household materials you probably already have at home. If you’d like to go the extra mile or need to pick up new items to help on this DIY fashion project, your local hardware store or pharmacy may have everything you need to get the job done. Rather than heading to the thrift shop, distress your hat to make it look worn all by yourself. The result will be a one-of-a-kind creation that’s sure to get you compliments every time you wear it!


